
The life of an SEO is hard. There’s no way around it.
Unlike most jobs that remain static over the years, the landscape of SEO keeps changing regularly. A tactic that seems to be producing optimal results today may not do the same tomorrow. As Google continues to tweak its search algorithms (for the better, of course), then an SEO just can’t afford to put their feet firmly on the ground.
However, such is also the beauty of SEO. The dynamic and fast-paced world that search engine optimizers reside in presents them with new challenges and opportunities to help exercise their creative and analytical muscles. Moreover, these circumstances pave the way to more income for SEO, assuming that they’re able to find solutions to them.
With multiple ranking factors that need to be kept an eye on, SEO must relentless observe all these practices to heart if they want their website or client’s to enjoy sustainable and high rankings for a long time. And as mentioned, the changes in Google’ search algorithm precipitated changes in which factors bear the most weight.
Right, there’s a movement towards migrating from HTTP to HTTPS for your site. It has been a low priority ranking factor ever since. However, aside from adding a layer of security for your site, HTTPS helps increase your site’s performance regarding SEO.
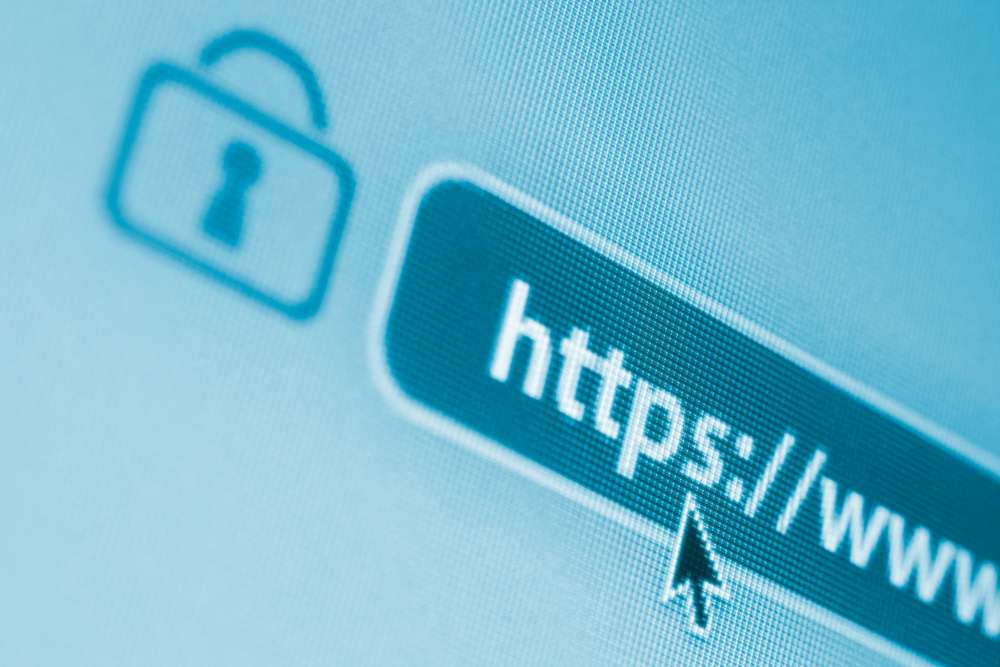
What is HTTPS
In layman’s terms, HTTPS is short for Hyper Text Transfer Protocol Security. Whenever a user accesses a page online, it requests information about the page which is transferred to the user’s browser. The passageway where information travels from browser to site and back is the HTTP.
However, the information that travels this road is not secure. If you are acquiring sensitive information (codes, login details, etc.) from users or sending one over, you cannot guarantee that the data will travel safely. There’s a possibility that the information will be intercepted and fall into the wrong hands. As a result, these people will malicious intent can use the details not only against the user but also against your site.

To prevent this incident from happening, you need to install a security layer to your domain on top of the existing one. The layer comes in the form of Secure Socket Layer (SSL) or Transport Layer Security (TLS), both of which add the “S” in the HTTPS.
What both layers do is encrypt the information transferred from the site to the user and back. Once the information reaches to the other one, the data is decrypted by either browser’s sublayer.
Aside from security of your information through encryption, an HTTPS site has an authentication certification. It helps ensure users that they are communicating with the site that they intend to exchange information with. Also, HTTPS retains data integrity to prevent information from getting corrupted and modified without anyone noticing.
Why migrate your site to HTTPS for SEO
The added security should be good enough to convince any site owner to relocate from HTTP to HTTPS. However, some people are not concerned with the safety and benefits that HTTPS brings to the table. Their priority is to build website traffic from organic search to meet their online goals.
As more and more people are getting smarter with SEO, you need to take your SEO efforts to a whole new level, starting with migrating from HTTP to HTTPS. The process is long-winded (more on this later), but the benefits are all worth it.
As mentioned earlier, HTTPS has been ranking factor since 2014 when Matt Cutts wrote a blog post about it. Aside from that, another benefit of HTTPS to SEO is to help provide you with accurate referral data from Google Analytics. While the tool is a must-use tool for site owners, Google stripped lots of its features that made it one arguably the best SEO tool. One of them is the remove of referral data for HTTP sites. If your site went viral from an online channel where you posted or promoted your site, you wouldn’t be able to see it from Google Analytics. It will only show all referral traffic as direct ones, i.e., entering to your site without any aid from a third-party site.
By transitioning your site to HTTPS, you can enjoy referral data to help you wrangle data about your website traffic and make more definitive decisions to your marketing strategy.
Arguably the most significant incentive that HTTPS provides and gets unnoticed is trust. If you had a choice of purchasing the same product from an HTTP online store or an HTTPS one, for instance, the chances are that you’ll go with the latter. Simply put, an HTTPS site puts a premium on its target audience. By getting an authentication certification and making the transfer of information between site and user more secure, an HTTPS site becomes more trustworthy by default.
How to migrate from HTTP to HTTPS
Migrating your site to HTTPS can be arguably a technical and time-consuming process, which I will gladly break down for you.
Acquiring SSL certification
Some sites like Let’s Encrypt offer SSL certification for free. You can easily install it from your cPanel, provided that your hosting provider (Siteground and others) has this option available.
If this choice is not available, you may want to use CloudFlare’s Free Shared SSL certification. Upon signing up for a CloudFlare free plan, you need to enter your domain. Click on your site after entering it and select “Flexible” under SSL in the Crypto settings.

While free is always a good thing, it’s sometimes not the best either. In fact, according to Scott Helme, CloudFlare’s “[f]lexible SSL is nothing more than an illusion of security that you’re presenting to your visitors.” You can use Cloudflare’s Full SSL and Full SSL (strict), both of which are better options than they’re free. However, you will have to sign up for a monthly subscription (at least $20/month) to activate your SSL certification, as well as other features to help hasten your site.
If you’re only interested in the SSL certification, then you can’t go wrong with GoGetSSL. For as low as $4/year, you can make your site secure and raise its SEO game. From here you need to determine the kind of certification you need to get for your site.
For small sites, you can settle with Domain Validation, which requires no paperwork and is also the most affordable. Business Validation verifies details other than the domain like business name, company address, and phone number. The authentic of the information can boost conversion and sales. Extended Validation offers the highest trust level online and shows a Dynamic Site Seal Logo on the browser bar.
Installing your SSL certificate
Once you have your hands on your SSL certification, all you need to do now is install it on your hosting.
However, there is no one-size-fits-all for this step. How you proceed from here depends on the SSL certification you acquired and your hosting provider or the software you are using.

For example, if you purchased Comodo Positive SSL from GoGetSSL, then you need to find how to install it on your hosting or software. Referring to the instructions from the official Comodo site, below are links on how to correctly install them based on your platform of choice.
If you are to choose a different SSL certification, then you need to find the official documentation from the vendor on how to install it the right way on your platform to ensure that the migration process goes smoothly.
To make sure that the certificate is correctly installed, use the SSL Server Test by Qualys. If the result is negative, then you have to look back into the process and see what you did wrong.
Edit all internal links to HTTPS
The potentially biggest problem that you will encounter when migrating from HTTP to HTTPS is editing all links on your site that use “http://” in the URL. Manually changing all the links from your site is a nightmare, especially if it has hundreds and thousands of pages.
For WordPress users, multiple tools can help aid this step in your migration process. You can use inteconnect/it’s , which allows you to update the hard-coded links in your database. Check out how the tool works and get a better idea on how to use it by .
Before using this script, it’s better to be fully aware of the risks and potential errors that it can cause on your site if you misuse it. Also, you need to be comfortable with coding and tweaking your WordPress site on the backend. To avoid fatal mistakes with using the script and minimize risks, you should run it on a dev or backup copy version of your site. If you’re not comfortable with doing any of these, then seek help from a professional developer to ensure that the process goes smoothly.

If the solution above doesn’t work such as the issue of mixed content, then you can simply install the Really Simple SSL plugin. It will be responsible for handling SSL-related issues and resolves all of them, as well as redirecting all requests to HTTPS. Moreover, all changes can be done from your dashboard – you can make the changes from the plugins and not break the site.
Lastly, you would want to edit your robots.txt to update all files that point to HTTP and turn them to HTTPS.
Add redirects
Once you have fixed your internal links, it’s time to redirect your backlinks to their HTTPS counterpart. If you have been building links to your site before, you must be using HTTP in your site page’s URL. Once you have successfully migrated your site, some of the link juice from sites where you have a link from won’t pass because it doesn’t link to the HTTPS version of the page.
To fix this issue, you must add 301 redirects to all HTTP pages and point them to HTTPS. While you’d think a plugin will help solve all your problems, it would be better to fix the problem from your .htaccess (for Apache) and the Nginx config.
Below are the codes you need to add in the following platforms:
NGINX
server {
listen 80;
server_name domain.com www.domain.com;
return 301 https://domain.com$request_uri;
}
Apache
RewriteEngine On
RewriteCond %{HTTPS} off
RewriteRule (.*) https://%{HTTP_HOST}%{REQUEST_URI} [R=301,L]
Install/Update your SSL on your CDN
You can skip this part if you’re not using a content delivery network like MaxCDN and KeyCDN. However, you should reconsider this option if you want a faster loading site and deliver your content to visitors efficiently. Both CDNs above providers are affordable enough even for small businesses and solopreneurs to use for their site – MaxCDN costs less than $10/month for their basic subscription while KeyCDN offers $4/month for every 100 GB worth of bandwidth.
Installing your SSL certification on your CDN helps make the encryption process faster, thus delivering content to your visitors at optimum speed.

The installation process depends on the CDN you are using and the SSL certificate you acquired (domain, business, or expanded verification). However, they pretty much are similar from each other. It will require you to open a zone and edit the URL of your pull zone from HTTP to HTTPS.
For instance, here’s the exact process of installing a Comodo Positive SSL on KeyCDN and MaxCDN.
After migrating from HTTP to HTTPS
The steps above comprises the entire process of migration to HTTPS. As mentioned, the process, while arduous, is a necessary one if you want to bolster your site’s SEO performance. Once you’re finished following the steps to a tee, it’s time to also to maketernal changes that can help impact your SEO efforts.
Update your Google properties
To continue tracking your site using Google Analytics and Search Console, you need to update the entries from both analytics tools from HTTP to HTTPS. The original settings will only track the HTTP version, so making the changes will help continue acquiring data from your HTTPS site.
For Google Analytics, you need to edit the existing URL of your site (if you already have one) by changing the URL to HTTPS. Google Search Console requires you to add a new site using the HTTPS in the address as if you’re starting back from scratch.
Update your social media links
While links from your social media profiles are nofollow, they nonetheless help point your fans and followers to the right direction. Updating each one will take time, especially if you are signed up to different social sites, but it is easy enough for you to pull off. Changing the links from HTTP to HTTPS from your social media profiles should get the job done.
Conclusion
Migrating from HTTP to HTTPS depends on different factors to help you determine the exact process. The kind of CMS you’re using to run your site, the SSL certification you purchased, and the hosting provider (or software) you’re signed up to play a crucial role on how you should proceed with the migration process.
If anything, the guide above paints the picture on how technical migrating your site to HTTPS will be. Therefore, you need to proceed with the migration by taking heed of the tips and advice above to get it right the first time.
